
if you are facing any of the following errors while integrating Google Maps in Flutter, follow this article.
1. 'GoogleMaps/GoogleMaps.h' file not found
2. The 'Pods-Runner' target has frameworks with conflicting names: googlemaps.framework.
3. warning: 'sqlite3_wal_checkpoint_v2' is only available on iOS 5.0 or newer
4. ld: targeted OS version does not support use of thread local variables in XYZ for architecture x86_64
Steps to Integrate Google Maps in Flutter
References:
- https://developers.google.com/maps/documentation/ios-sdk/start
- https://developers.google.com/maps/documentation/android-sdk/intro
- https://codelabs.developers.google.com/codelabs/google-maps-in-flutter
Step 1: Import Flutter Library
Add google_maps_flutter library to pubspec.yaml
dependencies:
  google_maps_flutter: ^0.5.28+1
Step 2: Get Google Maps API Key
Follow article on Get an API Key | Maps SDK for Android, Activate Library "Maps SDK for Android" & "Maps SDK for iOS" and get API Key. Once Done edit file AndroidManifest.xml:
<manifest ...
  <application ...
    <meta-data android:name="com.google.android.geo.API_KEY"
        android:value="YOUR_ANDROID_SDK_API_KEY_HERE"/>
Now open ios/Runner/AppDelegate.m and put lines as shown:
#include "AppDelegate.h"
#include "GeneratedPluginRegistrant.h"
#import "GoogleMaps/GoogleMaps.h"

@implementation AppDelegate

- (BOOL)application:(UIApplication *)application
    didFinishLaunchingWithOptions:(NSDictionary *)launchOptions {
  // Add the following line with your API key.
  [GMSServices provideAPIKey:@"YOUR_ANDROID_SDK_API_KEY_HERE"];
  [GeneratedPluginRegistrant registerWithRegistry:self];
  return [super application:application didFinishLaunchingWithOptions:launchOptions];
}
@end
You will also need to enable embedded_views_preview in file Info.plist:
<key>io.flutter.embedded_views_preview</key>
<true/>
Step 3: Import SDK for iOS
Once this is done we have to make sure that Google Maps SDK is available to XCode. To do that we need to update few things.
Open file Podfile and uncomment following line:
platform :ios, '9.0'Now open your ios folder from XCode as a Project and then open file Runner as show in image below. here change the deployment target to 9.0 as shown.

Once done. Close XCode and run following command in folder /ios in terminal:
sudo gem install cocoapods
pod update
This will successfully update your pod and then we can move ahead with creating our first Map Screen:
Step 4: Create first Map Widget
import 'dart:async';
import 'package:flutter/material.dart';
import 'package:google_maps_flutter/google_maps_flutter.dart';

class GoogleMapApp extends StatefulWidget {
  @override
  _GoogleMapAppState createState() => _GoogleMapAppState();
}

class _GoogleMapAppState extends State<GoogleMapApp> {
  Completer<GoogleMapController> _controller = Completer();

  static const LatLng centerLoc = const LatLng(45.521563, -122.677433);

  void _onMapCreated(GoogleMapController controller) {
    _controller.complete(controller);
  }

  @override
  Widget build(BuildContext context) {
    return MaterialApp(
      home: Scaffold(
        appBar: AppBar(
          title: Text('Google Map Example'),
          backgroundColor: AppTheme.topBarColor,
          leading: IconButton(
            icon: Icon(Icons.arrow_back, color: AppTheme.white),
            onPressed: () => Navigator.of(context).pop(),
          ),
        ),
        body: GoogleMap(
          onMapCreated: _onMapCreated,
          initialCameraPosition: CameraPosition(
            target: centerLoc,
            zoom: 8.0,
          ),
        ),
      ),
    );
  }
}
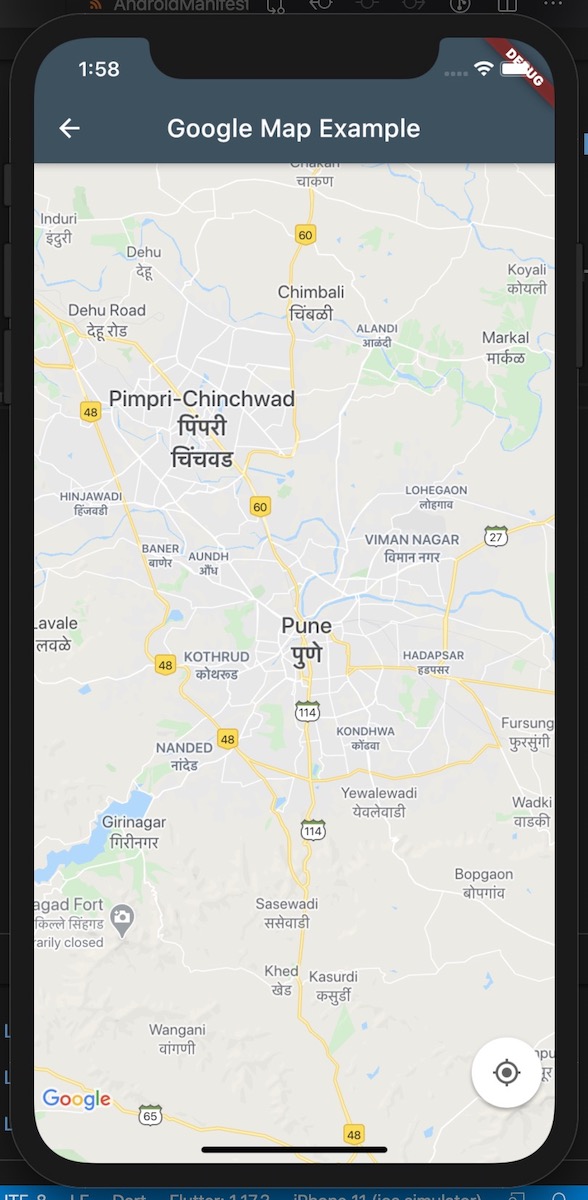
Here we go


Leave a Reply