
PostgreSQL is a powerful, open-source relational database management system widely used for building scalable web applications. In this article, we'll walk through the process of installing PostgreSQL on MacOS using Homebrew, a popular package manager for MacOS, and setting up pgAdmin4, a web-based administration tool for PostgreSQL.
Prerequisites
Before we begin, make sure you have Homebrew installed on your MacOS system. If not, you can install it by running the following command in your terminal:
/bin/bash -c "$(curl -fsSL https://raw.githubusercontent.com/Homebrew/install/HEAD/install.sh)"Step 1: Install PostgreSQL with Homebrew
To install PostgreSQL using Homebrew, simply run the following command in your terminal:
brew install postgresql@15This will download and install PostgreSQL along with its dependencies on your MacOS system.
Step 2: Start and Enable PostgreSQL Service
After installing PostgreSQL, you need to start and enable the PostgreSQL service. Run the following commands in your terminal:
brew services start postgresql@15Step 3: Add PostgreSQL in PATH
Run sudo nano /etc/paths and add this path on new line.
/opt/homebrew/opt/postgresql@15/binStep 4: Create a New PostgreSQL User and Database
Start postgres in terminal
psql postgresCreate user postgres as Super User:
CREATE USER postgres SUPERUSER;Create normal user for project
# Switch to the postgres system user
psql postgres

# Create a new PostgreSQL user
CREATE USER admin WITH PASSWORD 'admin';

# Create a new PostgreSQL database
CREATE DATABASE myproject;

# Grant all privileges on the database to the new user
GRANT ALL PRIVILEGES ON DATABASE myproject TO admin;

# Exit psql prompt
\q
Step 5: Install pgAdmin4
pgAdmin4 is a web-based administration tool for PostgreSQL. To install pgAdmin4, go to https://www.pgadmin.org/download/pgadmin-4-macos/ and select your suitable version.
Step 6: Start pgAdmin4
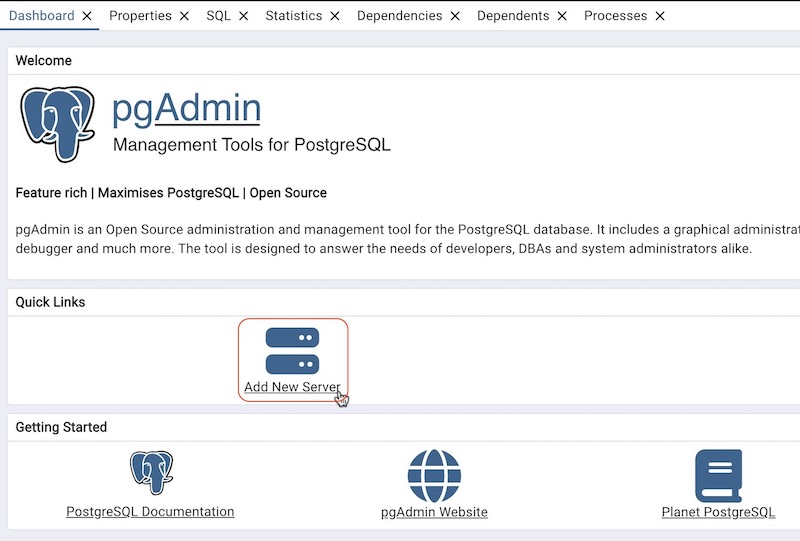
To start pgAdmin4, you can either run it from the Applications folder.
Click on Add New Server:
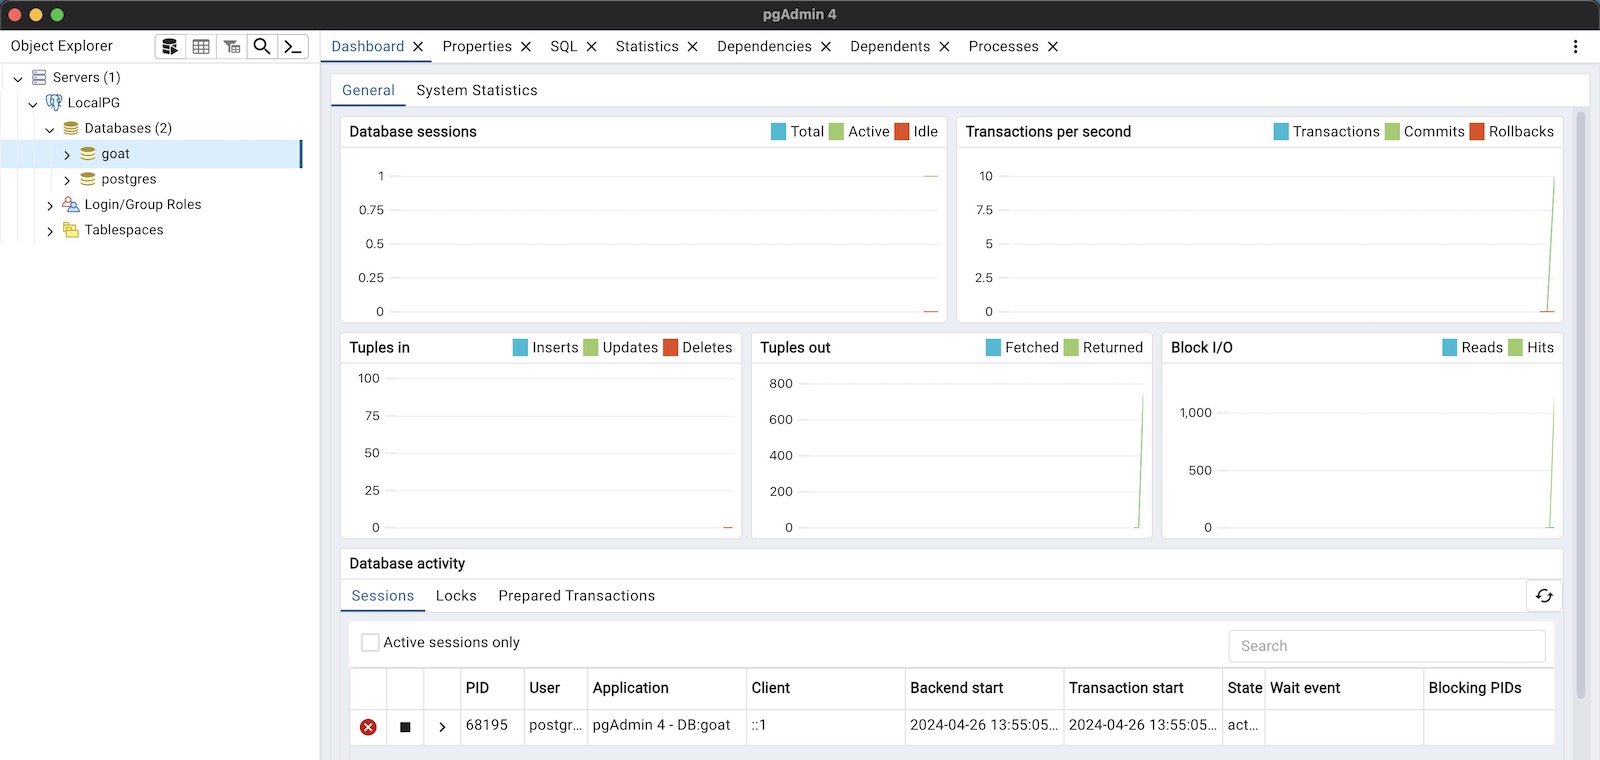
Name: LocalPG
Host name: localhost
Username: postgres
And Save.
You will get pgAdmin4 up and running!
Conclusion
Congratulations! You've successfully installed PostgreSQL on MacOS using Homebrew and set up pgAdmin4 for administering your PostgreSQL databases. You can now use pgAdmin4 to manage your PostgreSQL databases, run queries, and perform various administrative tasks with ease.


Leave a Reply